Beranda > Artikel
Prevent Leaks, Check Out the Must-Know Roof Proble

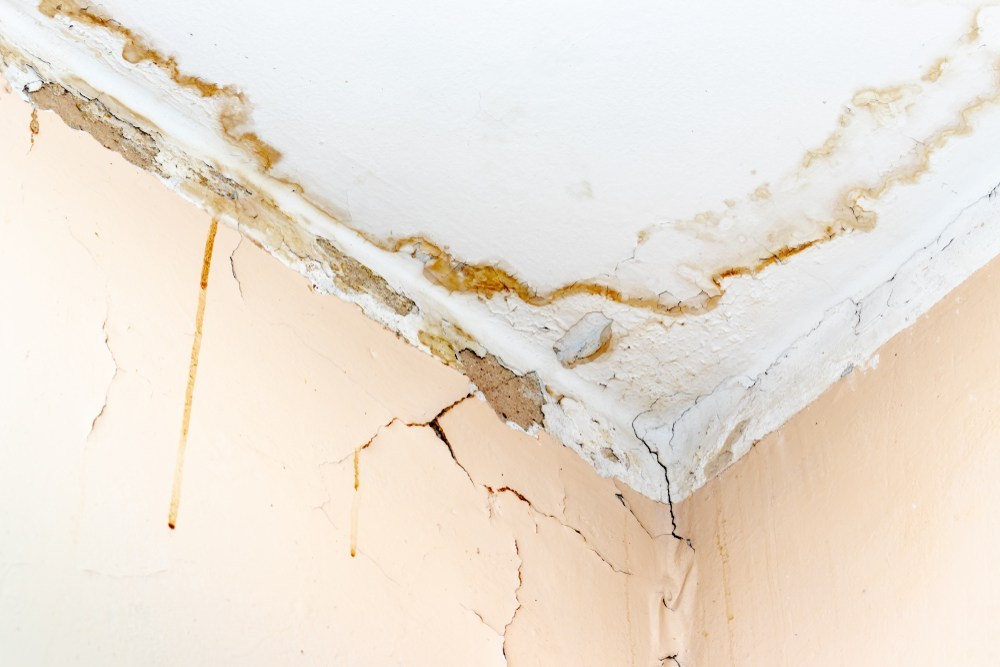
A leaky roof cannot be allowed to continue because it will spread and cause damage to other parts of the house, such as the ceiling and walls. Rainwater can damage the roof frame because it causes fragility and reduced structural strength. That is why we must install various roof components correctly and the choice of materials must be right.
To avoid leaks or seepage on the roof, consider the following points.
Use good quality tiles, which can be installed perfectly without gaps.
Because good tiles can usually rest on each other and lock each other between one tile and another. Also entrust the installation to experienced craftsmen.
Install the gutter properly and pay attention to the grooves carefully to direct rainwater from the roof to the ground. Choose a gutter with the appropriate size and shape so that it does not hinder the smooth flow of water. Many use gutter grooves made of zinc or carpet. Over time, the gutter can rust and rot, causing leaks around it. Also pay attention to the cleanliness around the gutter hole. Don't let there be any garbage that clogs the smooth flow of rainwater which can cause leaks.
Complete the roof covering with accessories. Leakage problems usually start from the many joints on the roof. Likewise, on the roof covering made of concrete or cement and sand mixtures that may not mix well and are not elastic enough to withstand continuous weather changes so that they become brittle and cracked. This is one of the causes of leaks. Choose the right accessories to overcome leaks and cracks.
Roof retaining clips are used to clamp the edges of the roof tiles and hook them to the battens so that the roof tiles will not sag or come off their seats during rain and strong winds.
Apply waterproofing to each joint on the ridge and gutter because that is where leak problems usually start. Waterproofing is a waterproof coating material that can prevent leaks. Of course, the application method must be correct, namely made in layers. The first layer is waterproofing that is diluted with water (10%) so that it blends better with the surface it is coated with.
The second and third layers are waterproofing without a mixture. This is done repeatedly 2 times in opposite directions so that both layers can cover the surface of the plane in a "weaving" direction.
Waterproofing application can be done with a brush, roller, or spray. Read the instructions carefully so you get optimal results.
 Bahasa Indonesia
  Inggris
 Bahasa Indonesia
  Inggris
 Bahasa Indonesia
  Inggris
 A leaky roof cannot be allowed to continue because it will spread and cause damage to other parts of the house, such as the ceiling and walls. Rainwater can damage the roof frame because it causes fragility and reduced structural strength. That is why we must install various roof components correctly and the choice of materials must be right.


