Beranda > Artikel
6 Stages of Making the Correct Roof of the House

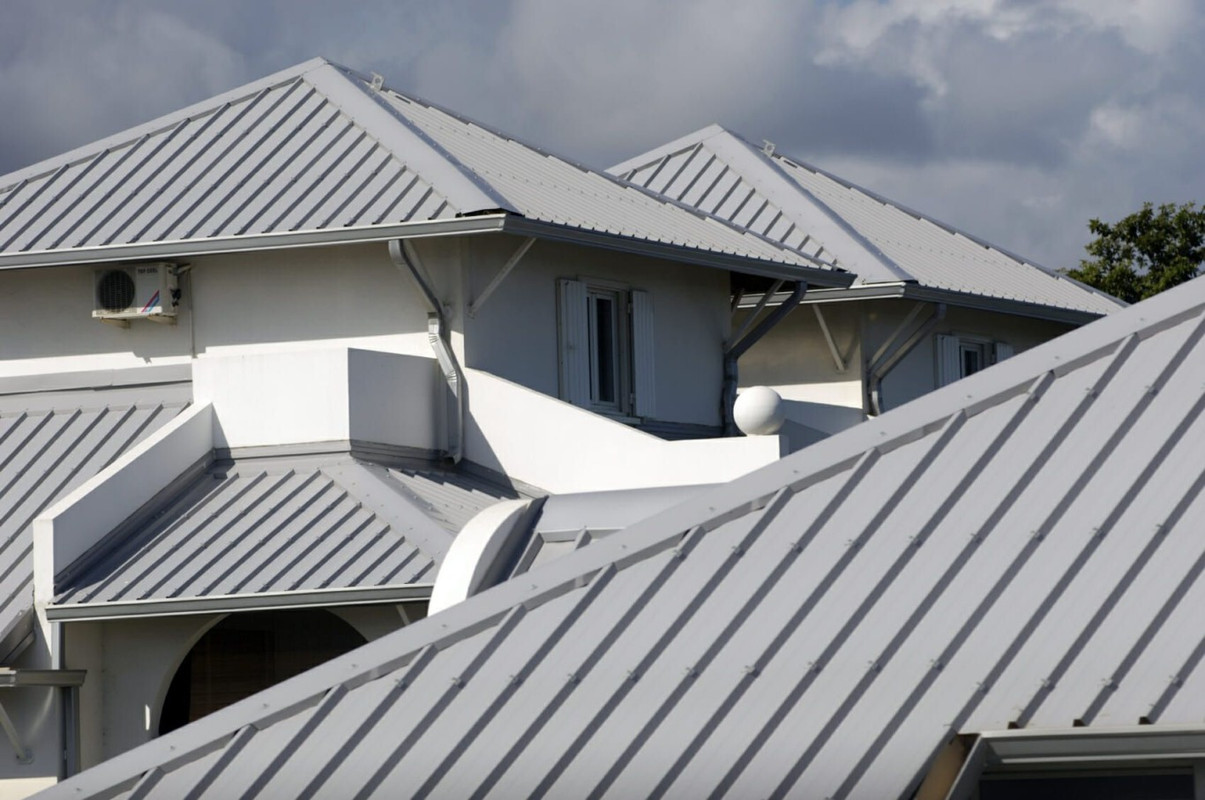
Having a model of a house roof that is always beautiful is a dream. Often roof damage is caused by the stages of making the roof at the wrong start.
This is what sometimes makes the house tile easily sag in the wind, or water penetrates into the house when it rains. However, it should be noted that repairing a roof or tile is certainly not cheap.
Repair costs can be quite high, especially if you have to use the services of a handyman. So in order to avoid these risks, it would be nice for you to really pay attention to how to install the right roof, in order to avoid long-term risks. So, to prevent this from happening, this time, we will review the steps for making the right roof.
Stages of making a strong roof
In order to get the best roof that is safe to protect your minimalist home , you need to do several steps from the start. Here are some tips that you can do before carrying out each stage of making a tile roof for your home.
1. Prepare the calculation of the needs for the construction of the roof of the house
To build a house, of course we have to prepare the calculations first. So that what has been prepared, be it the budget, building construction and others, can be according to the original plan. This also includes when installing the roof. Before execution, you need to estimate the calculation of roof needs and the total cost of installation. By doing budget calculations in building, you will be able to make battens and roof frames that are suitable too.
2. Sort Tile
It is important for you to sort the tiles that you have purchased before installing them. This is to see if there are tiles that are defective or damaged. So, if the tile can get a guarantee, you can immediately ask for a replacement. Because if it is damaged after being installed, it is usually difficult to get a guarantee from the tile seller.
3. Paint if needed
If you want the roof of the house to look shiny later, try painting the tiles first. Doing painting when the tile has not been installed will be easier and safer than painting when the tile has been installed. Even though it requires additional costs, painting this tile can also make the tile last longer and be more protected.
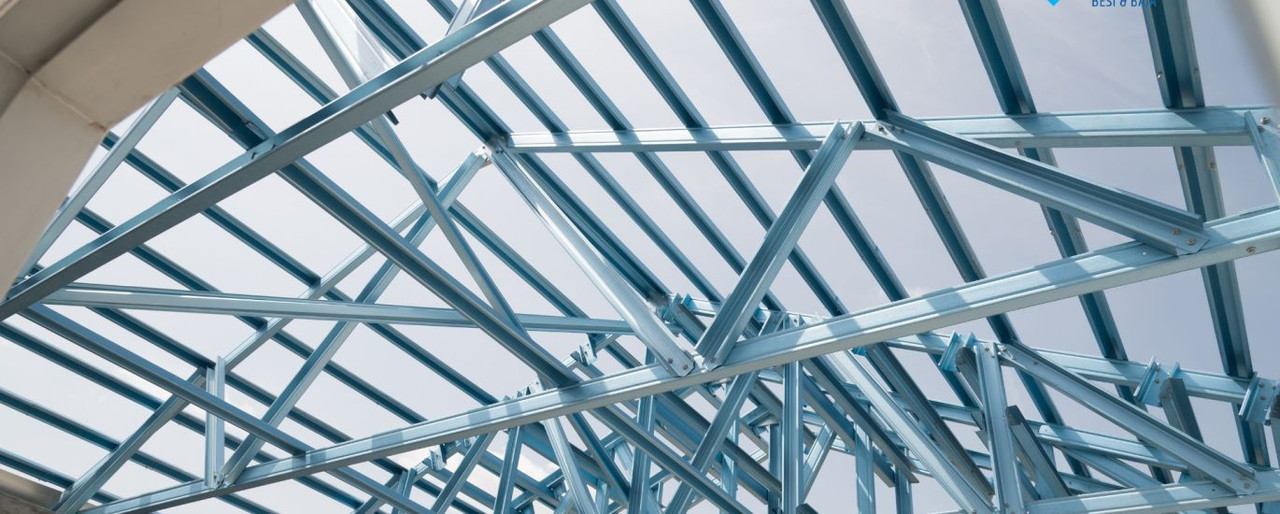
4. Make sure that the roof frame and battens are properly and firmly installed
If the framework is properly installed, then there is no worry when installing the tile. If there are still deficiencies in the framework but you still do the tile installation, later it will actually make the work longer and more troublesome.
5. Installation of tiles is done every horizontal row
The first row should be at the top of the roof and not the edge. Install the tiles in the next row by following the row of tiles above them, which is the first row when we install the tiles. Complete
the tile installation down to the last row.
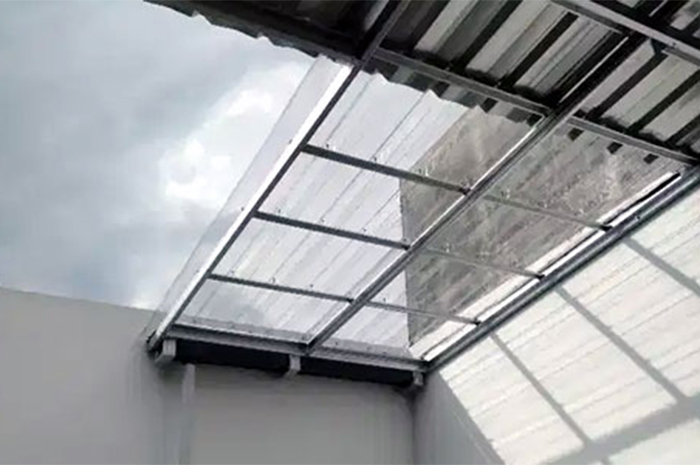
6. Protect the roof frame using aluminum foil
The function of aluminum foil on the roof frame can be used as a barrier / heat sink and solar radiation that penetrates the ceiling of the house. Aluminum foil is made of strong, elastic and water-resistant and freon-resistant materials. So it is safe and environmentally friendly. Apart from that, the function of aluminum foil also helps to hold and reflect the heat of the sun into the house.
From all the stages of making the roof above, there are several things that you must do carefully. So, do it with full calculation while paying attention to aesthetics. Hopefully the above article can help you find out what is needed to make a roof along with the detailed steps, hopefully it's useful.
 Bahasa Indonesia
  Inggris
 Bahasa Indonesia
  Inggris
 Having a model of a house roof that is always beautiful is a dream. Often roof damage is caused by the stages of making the roof at the wrong start.


