Beranda > Artikel
How to Make a Canopy from Hollow Iron to Save!

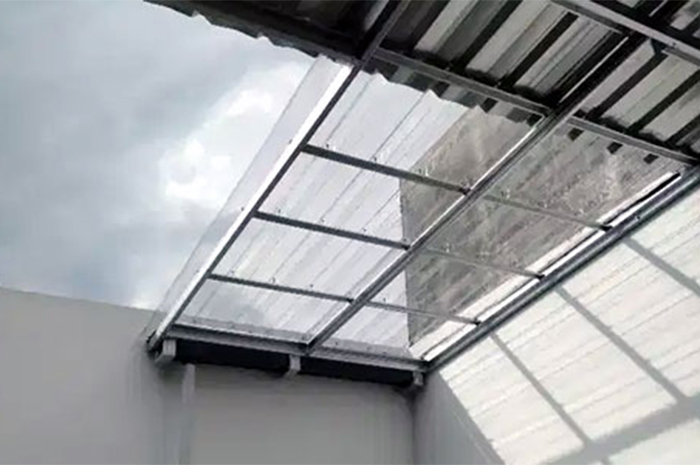
To protect your car or yard from the wind at night and the scorching heat during the day, you need a roof canopy to protect it. If buying a large canopy is not a solution that you can do because of limited funds, then you can still make a canopy from hollow iron yourself. how do?
To make a canopy, you should first measure the land that will be given a canopy cover on it so that making the canopy will be appropriate. For example, the canopy to be made is 3.2 meters wide and 5.3 meters long. To start making a canopy, you must first prepare the following tools and materials.
Prepare Tools
How to make a canopy from hollow iron requires a grinding tool with an iron-cut grinding wheel, an ordinary grinder, and a ceramic-cut grinding wheel. In addition, an electric hand drill with a 12 mm iron drill bit and a 12 mm concrete drill bit, a 900 watt 120e electric welding drill, an angle ruler, a meter, a spirit level, a hammer, a betel, and markers are required.
Prepare materials
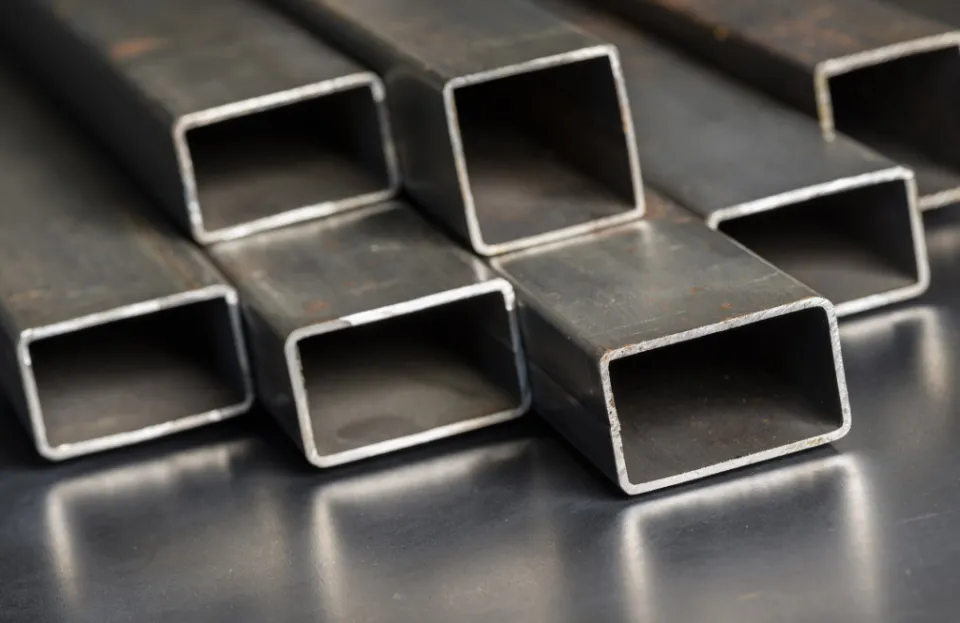
The materials needed to make a canopy from hollow iron are 4 pieces of hollow iron measuring 4x6 cm with a length of 6 meters and a thickness of 1.8 mm, 4 pieces of hollow iron 4x4 cm with a length of 6 meters and a thickness of 1.8 mm as many as 4 pieces, iron elbows of approximately 50 cm for dynabold mounts to the canopy, 70 pieces of galvalume screws with a length of 4.5 cm, and spandex taps with a thickness of 0.35 mm and a length of 6 meters.
Measuring Steel Frame
So that the canopy can be made, the first step for how to make a canopy from hollow iron is to make the initial measurements of the canopy. The size of hollow iron for the appropriate canopy is two pieces of 4x6 cm hollow iron measuring 5.2 m, 2 pieces of 3.1 meters in size, and 2 pieces of 2.9 meters for the front pole. Cut the hollow iron 4x4 cm along 5.12 meters as much as 2 pieces as ribs in the main frame with a length of 1 meter as many as 12 pieces.
Weld and Connect Iron for Main Frame
Furthermore, how to make a canopy from hollow iron is to weld and connect the main frame first by forming a rectangle. Don't forget to make sure the distance of the hollow canopy frame at the angles is right first. Weld and connect the 4x4 cm iron with a length of 5.12 cm and measure the width division equally about 1 meter.
Next, you can weld and connect the 4x4 cm pieces that have been cut to a size of 1 meter each as a place for screwing the galvanized roof to the canopy frame. After everything feels strong after being welded, the canopy can be raised. Don't forget to cut the elbows and mulch with a 12 mm drill bit for the base to fasten the dynabold bolts to the wall and the posts to the floor.
Raise the Canopy and Build a Support Pole
Then, raise the canopy up. Mark and measure where the dynabold needs to be planted. In order to ensure the canopy is properly attached, be sure to adjust it using a waterpass. Next, drill holes in the wall with a 12 mm drill bit and plant the dynabold. Then attach the canopy frame to the wall of the house using the bolts on the dynabold.
After the canopy is installed up, you can continue to install the support posts for the front of the canopy. Pre-measure the height of the rear support posts and the front support posts on the canopy as desired. Then bolt using diynabold and welded to the top of the post.
Next, you can install the spandek roof on the canopy that has been cut according to the size of the canopy. Raise the spandex roof and screw the spandex roof onto the canopy frame so it doesn't come off. If the roof spandek has been installed, then the canopy is ready for use.
That's how to make a canopy from hollow iron that is easy to follow and do yourself. By making your own canopy, you will be more cost-effective to make a canopy. Good luck!
 Bahasa Indonesia
  Inggris
 Bahasa Indonesia
  Inggris
 To protect your car or yard from the wind at night and the scorching heat during the day, you need a roof canopy to protect it. If buying a large canopy is not a solution that you can do because of limited funds, then you can still make a canopy from hollow iron yourself. how do?


